![](https://static.wixstatic.com/media/5c8f96_b3928e50c5764b6db8a706a4f0113640~mv2.jpg/v1/fill/w_980,h_1307,al_c,q_85,usm_0.66_1.00_0.01,enc_auto/5c8f96_b3928e50c5764b6db8a706a4f0113640~mv2.jpg)
How to build a simple table. Plan is from Ana White.
![](https://static.wixstatic.com/media/5c8f96_6ddaf1a5d0a0493b88934ac97b24bf9c~mv2.jpg/v1/fill/w_980,h_1307,al_c,q_85,usm_0.66_1.00_0.01,enc_auto/5c8f96_6ddaf1a5d0a0493b88934ac97b24bf9c~mv2.jpg)
Step 1: measuring and using a square to make sure everything stays square
![](https://static.wixstatic.com/media/5c8f96_07152848c6c34141a6aa77d2f1614615~mv2.jpg/v1/fill/w_980,h_1307,al_c,q_85,usm_0.66_1.00_0.01,enc_auto/5c8f96_07152848c6c34141a6aa77d2f1614615~mv2.jpg)
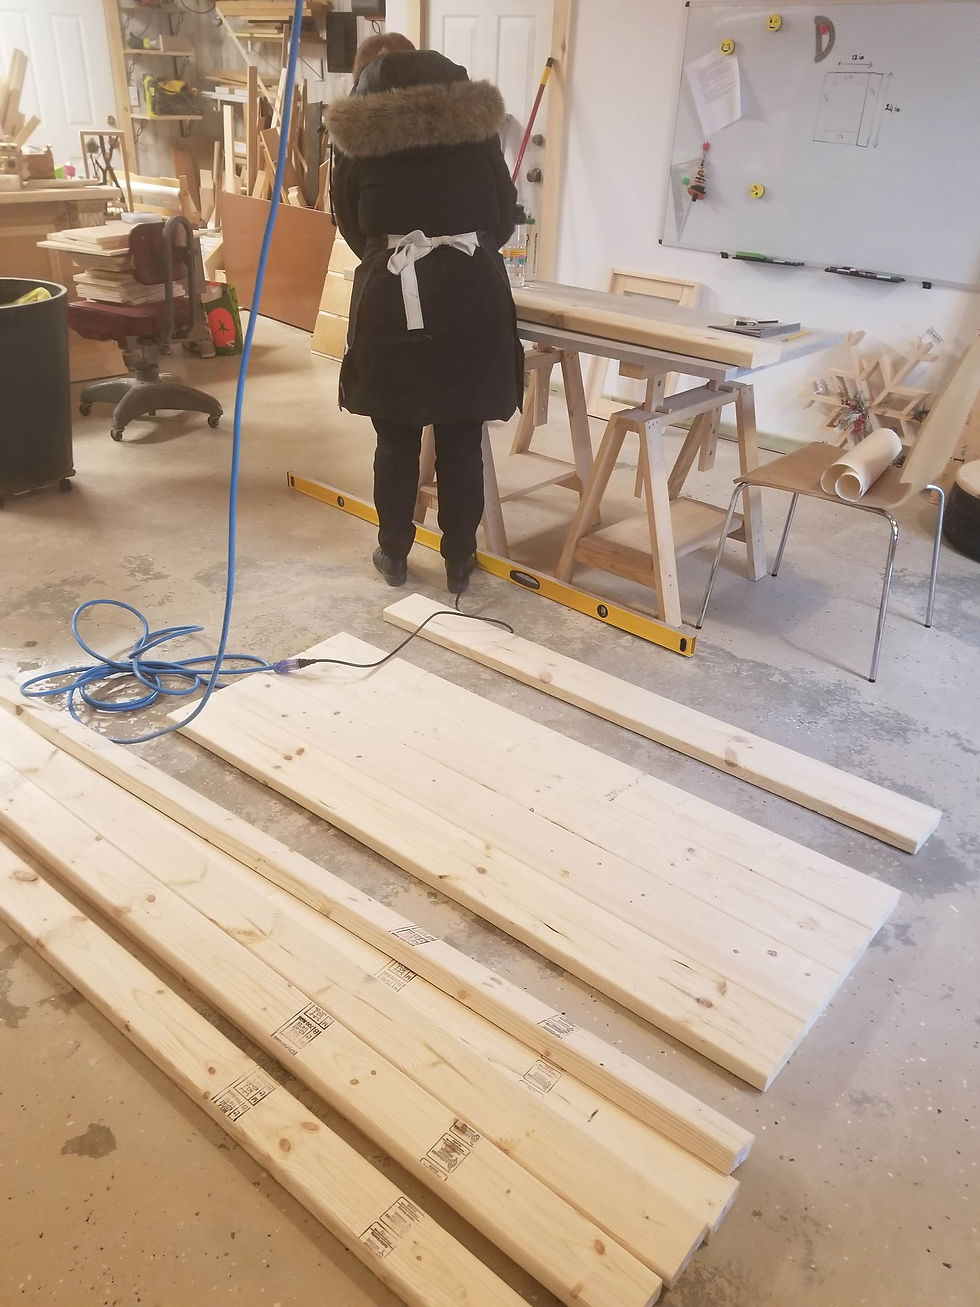
Step 2: some sanding using the sander. Some 2x4 have stickers, some have those black marks.
![](https://static.wixstatic.com/media/5c8f96_75dbb8087c8e4f0c9508e5d2a073ee10~mv2.jpg/v1/fill/w_980,h_1307,al_c,q_85,usm_0.66_1.00_0.01,enc_auto/5c8f96_75dbb8087c8e4f0c9508e5d2a073ee10~mv2.jpg)
Step 3: always measuring
![](https://static.wixstatic.com/media/5c8f96_01e366002a164877b1a797851e3b9118~mv2.jpg/v1/fill/w_980,h_1307,al_c,q_85,usm_0.66_1.00_0.01,enc_auto/5c8f96_01e366002a164877b1a797851e3b9118~mv2.jpg)
Step 4: do we add a bottom stretcher. When you build your own piece, you can always customize.
Comments